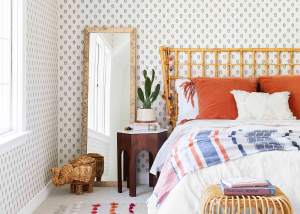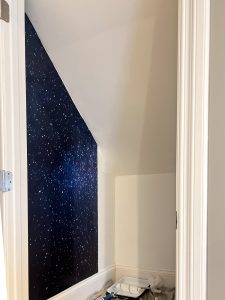

Peel and stick murals are a popular choice for adding a touch of style and personality to any room. However, it can be frustrating when the mural fails to adhere properly to the wall surface. Improper wall preparation is often the culprit behind this issue, making it crucial to ensure the surface is ready for successful installation.
II. Common Reasons Why Peel and Stick Murals Won’t Stick
There are several common reasons why peel and stick murals may not adhere correctly to the wall. Understanding these factors can help you troubleshoot and resolve the issue effectively.
Textured or Uneven Walls
Peel and stick murals are designed to adhere to smooth, flat surfaces. If your walls have a textured or uneven finish, the mural may struggle to make proper contact with the surface, leading to poor adhesion.
Dirty or Dusty Walls
Dirt, dust, or debris on the wall can create a barrier that prevents the mural’s adhesive from sticking properly. It’s essential to thoroughly clean the surface before installation.
Freshly Painted Walls
Newly painted walls can release gases (off-gassing) that interfere with the adhesive’s ability to bond with the surface. It’s recommended to wait for the appropriate curing time before applying the mural.
Covering Old Wallpaper or Damaged Walls
Attempting to install a peel and stick mural over old wallpaper or damaged walls can lead to adhesion issues. The surface must be smooth and free of any existing coverings or imperfections.
Extreme Temperatures or Humidity
Both extreme temperatures and humidity levels can affect the adhesive’s performance. It’s best to install peel and stick murals in a controlled environment with moderate temperature and humidity levels.
III. How to Prepare Walls for Peel and Stick Murals
Proper wall preparation is crucial for ensuring successful mural adhesion. Follow these steps to get your walls ready:
-
- Fill in Cracks and Holes: Use a suitable filler to fill in any cracks, holes, or imperfections on straight from the source the wall surface. Once dry, sand the area smooth.
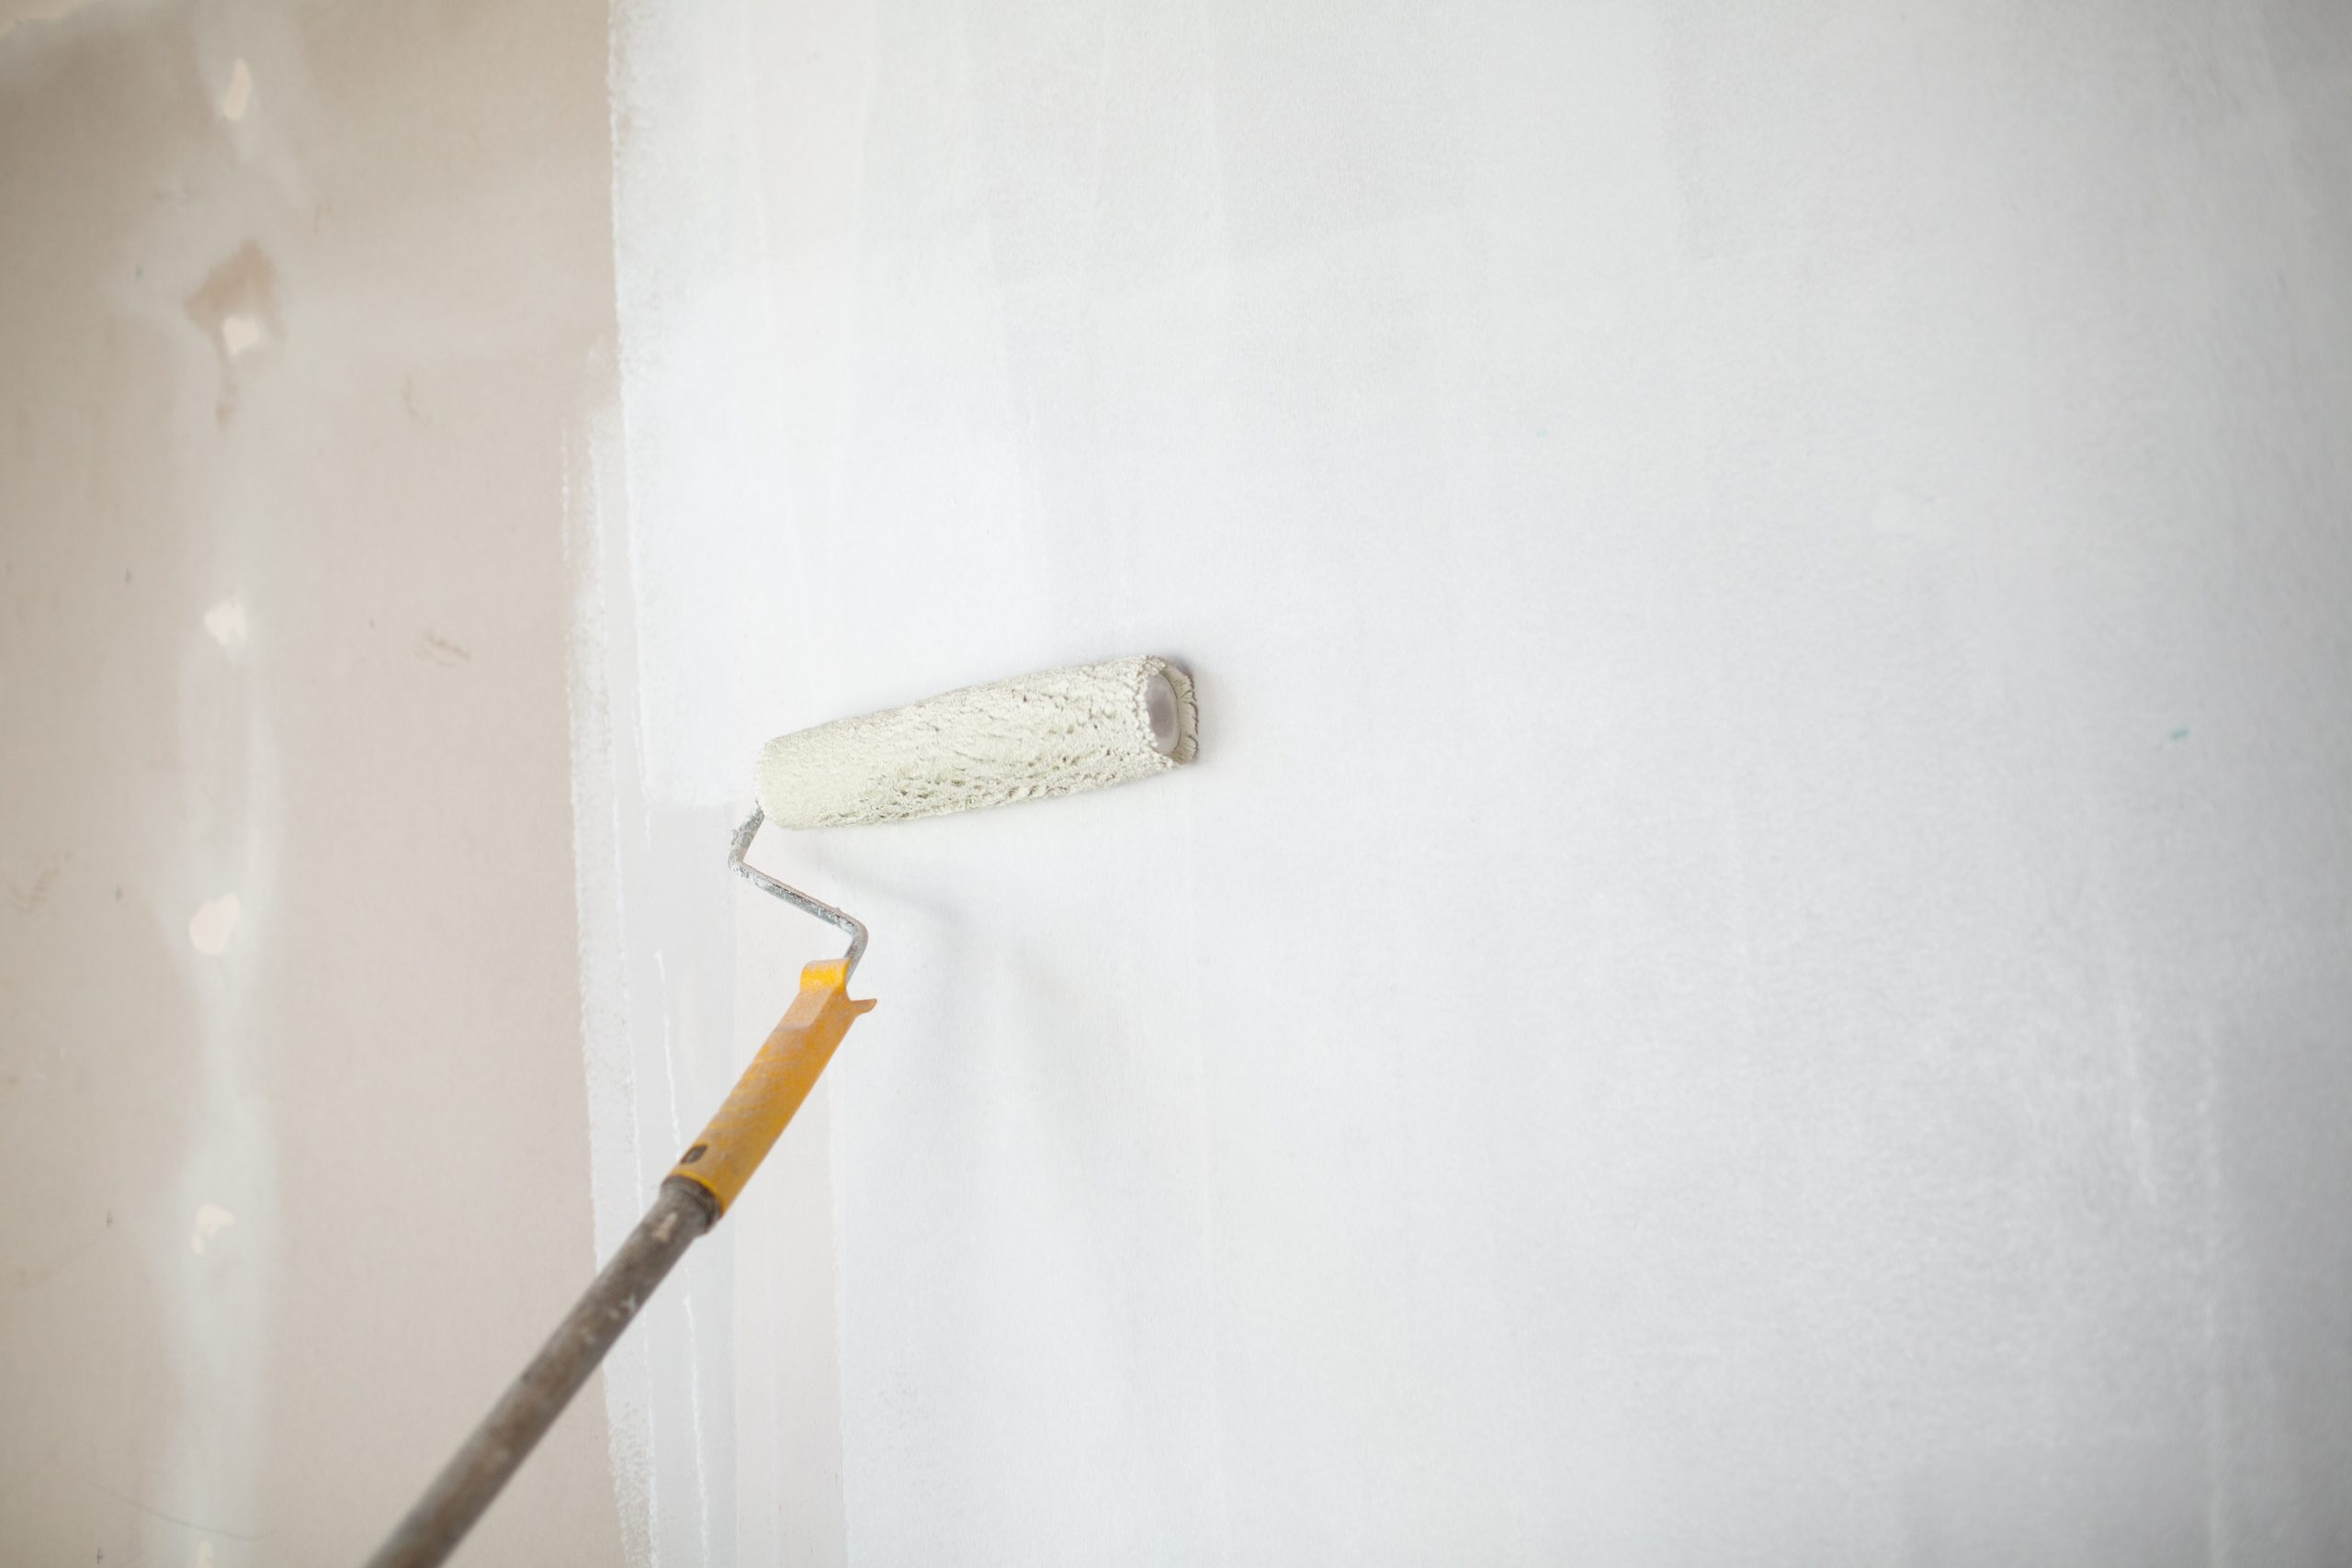
- Clean the Walls Thoroughly: Remove any dirt, dust, grease, or residue from the walls using a degreasing cleaner or a solution of warm water and mild detergent.
- Prime the Walls: If the walls are freshly painted, apply a high-quality primer and allow it to dry completely before installing the mural.
- Ensure Walls are Dry: Moisture can interfere with the adhesive’s performance. Make sure the walls are completely dry before proceeding with the installation.
- Acclimate the Mural: Allow the peel and stick mural to acclimate to the room temperature before applying it to the wall.
IV. Tips for Applying Peel and Stick Murals
Even with proper wall preparation, there are additional tips to ensure a successful mural installation:
- Start at the Top: Begin applying the mural from the top and work your way down in small sections.
- Align Panels Carefully: Carefully align the mural panels to avoid stretching or distorting the material.
- Use a Wallpaper Smoother: Employ a wallpaper smoother or a clean, soft cloth to press out any air bubbles and ensure proper adhesion.
- Trim Excess Material: Use a sharp utility knife to trim any excess material at the edges for a clean finish.
- Avoid Pulling or Forcing: If the mural becomes misaligned, do not pull or force it. Instead, gently lift and reposition the material.
V. Troubleshooting Murals That Are Peeling
If your peel and stick mural is already peeling or lifting, try these troubleshooting techniques:
- Warm the Decal: Use a hair dryer on a low setting to gently warm the peeling areas. This can help reactivate the adhesive and allow you to smooth down the lifting sections.
- Clean the Exposed Adhesive: If the adhesive is exposed, clean it with rubbing alcohol and allow it to dry completely before attempting to reapply the mural.
- Reapply with Pressure: Once the adhesive is clean and dry, carefully reapply the mural, pressing firmly to smooth out any wrinkles or bubbles.
- Use Removable Adhesive: For stubborn edges that won’t adhere, consider using a removable adhesive or clear silicone caulk to secure those areas temporarily.
VI. When to Remove and Start Over
In some cases, it may be necessary to remove the entire mural and start over. Consider this option if:
- The mural is severely misaligned or has numerous air bubbles that cannot be smoothed out.
- The wall surface is unsuitable for peel and stick murals, and repairs are not feasible.
- The adhesive has been damaged beyond repair from repeated attempts to reposition the panels.
VII. Preventing Future Adhesion Issues
To avoid adhesion problems with future peel and stick mural installations, follow these preventive measures:
-
- Proper Wall Preparation: Thoroughly prepare the wall surface by cleaning, repairing, and priming as needed.
- Follow Manufacturer’s Instructions: Carefully read and follow the manufacturer’s instructions for application and installation.
- Avoid Extreme Conditions: Maintain a consistent temperature and humidity level in the room during and after installation.
- Avoid Hanging Items or Attaching Objects: Refrain from hanging items or attaching objects directly to the mural, as this can cause peeling or damage.
VIII. Conclusion
Peel and stick murals can be a beautiful and convenient way to transform a space, but proper installation is key to ensuring their longevity. By understanding the common causes of adhesion issues and following the recommended preparation and application techniques, you can minimize the risk of peeling or lifting.

Hi there! My name is Ashton Pulsford and I’m an interior designer. I love making spaces look beautiful and feel cozy.
I started EasyWalls to share tips and ideas for decorating your home with wallpaper. Wallpaper is a fun way to add color and patterns to your walls. But it can be tricky to put up and take down. That’s where I come in!