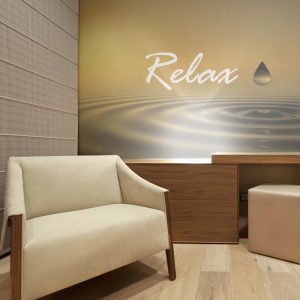
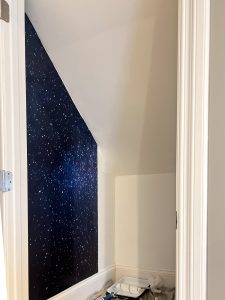
Wall murals are a great way to decorate your home. But sometimes, they can have problems like bubbles and wrinkles. These issues can make your mural look bad. This article will help you understand and fix these problems.
II. Understanding the Causes
A. Air Trapped During Installation
- Explanation: Air bubbles form when air gets trapped between the wall and the mural during installation.
- Common Mistakes: Not smoothing the mural properly or rushing the installation can cause air bubbles.
B. Surface Preparation Issues
- Importance: A clean and smooth wall is crucial for a good mural installation.
- Consequences: Dust, dirt, or uneven surfaces can cause bubbles and wrinkles.
C. Environmental Factors
- Impact: Temperature and humidity changes can affect the mural.
- Moisture: High humidity can cause the mural to expand and form bubbles or wrinkles.
III. Tools and Materials Needed
To fix bubbles and wrinkles, you will need:
- Tools: X-acto knife, syringe, wallpaper smoother, roller, paintbrush, putty knife.
- Materials: Wallpaper adhesive, seam repair glue, damp cloth.
IV. Step-by-Step Guide to Fixing Bubbles
A. Small Bubbles
- Locate the Bubble: Find the center of the bubble.
- Puncture the Bubble: Use a pin to make a small hole.
- Press Out Air: Smooth the area with a wallpaper smoother, starting from the center.
B. Large Bubbles
- Make an Incision: Use an x-acto knife to make a small cut.
- Apply Adhesive: Inject wallpaper paste into the cut using a syringe.
- Smooth the Area: Press the mural back into place and smooth it out.
V. Step-by-Step Guide to Fixing Wrinkles
A. Lifting and Reapplying
- Lift the Mural: Carefully lift the wrinkled part of the mural.
- Reapply: Smooth the mural back into place, working out the wrinkles.
B. Using Heat
- Apply Heat: Use a hairdryer on a low setting to warm the wrinkled area.
- Smooth the Area: Use a wallpaper smoother to press out the wrinkles.
VI. Preventative Measures
A. Proper Wall Preparation
-
- Clean the Wall: Ensure the wall is free of dust and dirt.
- Prime the Wall: Use a primer to create a smooth surface.
B. Installation Tips
- Avoid Air Bubbles: Smooth the mural as you apply it to avoid trapping air.
- Best Practices: Take your time and follow the manufacturer’s instructions.
VII. Common Mistakes to Avoid
A. Skipping Primer
- Importance: Primer helps the mural stick better and prevents bubbles.
B. Rushing the Installation
- Take Your Time: Ensure each step is done correctly to avoid problems.
C. Ignoring Environmental Conditions
-
- Monitor Conditions: Keep an eye on temperature and humidity during installation.

VIII. Troubleshooting Persistent Issues
A. Identifying Underlying Problems
- Check for Moisture: Look for signs of moisture or wall damage that could cause issues.
B. When to Seek Professional Help
- DIY Limitations: Know when it’s time to call a professional for help.
IX. Conclusion
Fixing bubbles and wrinkles in your wall mural can be easy with the right tools and techniques. Remember to prepare your wall properly, take your time during installation, and mo find here nitor environmental conditions. With these tips, your mural will look great for years to come.

Hi there! My name is Ashton Pulsford and I’m an interior designer. I love making spaces look beautiful and feel cozy.
I started EasyWalls to share tips and ideas for decorating your home with wallpaper. Wallpaper is a fun way to add color and patterns to your walls. But it can be tricky to put up and take down. That’s where I come in!


